
How-to: Sending AMQP messages
This how-to shows what is needed to send AMQP messages to exchanges using Zato, which is a Python-based ESB for SOA, cloud integrations and backend services.
SHOW ME THE CODE
This is the code needed:
Read below for the whole story.
UNDERSTANDING CONNECTION DEFINITIONS VS. CONNECTIONS
Before sending a first message, you need to make it known to Zato where messages will be sent as by default Zato encourages separation between services producing messages and the concrete destinations where the messages arrive.
You only invoke a single .send method in your code, without actually specifying particular URLs or credentials, message expiration, content type and so on. You can, but you don't have to.
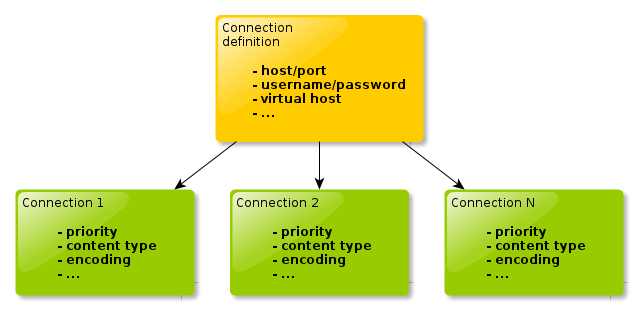
That all is achieved by means of connection definitions and actual connections. A connection definition is a template describing details of connecting to an AMQP broker - its network address, virtual host, username/password and similar. Each connection definition can be used to create one or more connections that deal with particulars of each message sent - its priority, delivery mode and other per-message information.
Both types of objects are created using Zato's GUI Dashboard or other means, such as enmasse or [API]/en/docs/4.1/index.html.
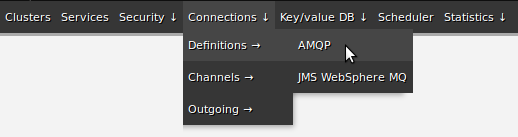
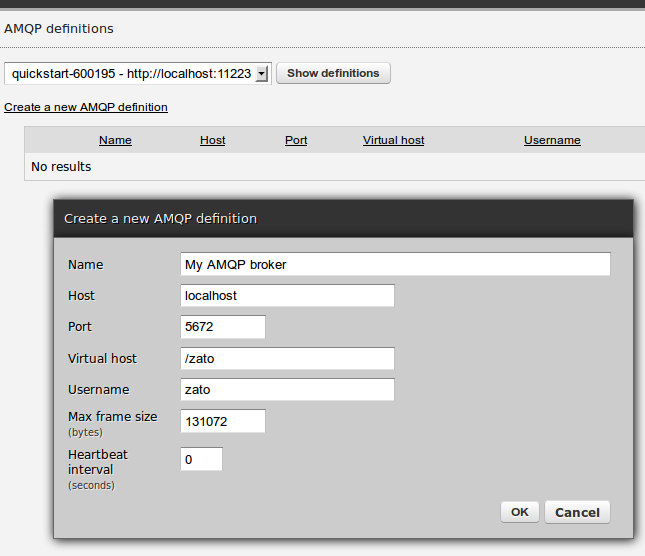
GUI
First create a connection definition and then use it to create an outgoing connection, as in the screenshots below.
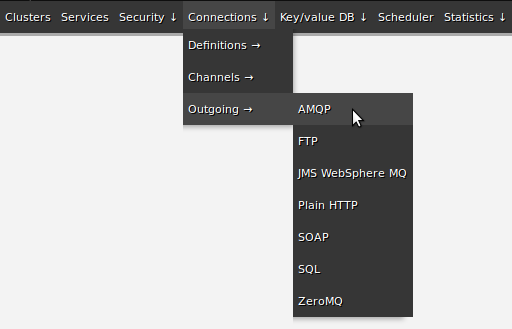
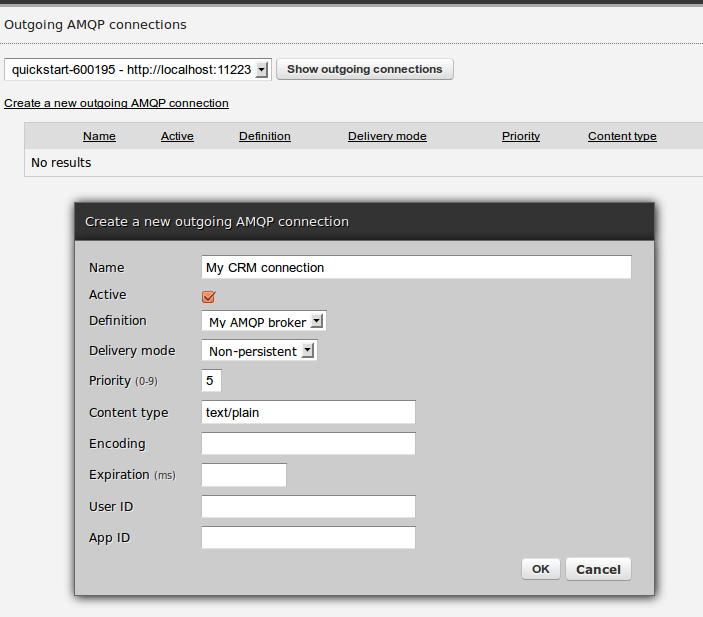
And that concludes it - a new connection has been created and the code shown before can be now hot-deployed in order to send AMQP messages.
OTHER MEANS OF CONFIGURATION
Instead, or in addition to, enmasse tool and [API]/en/docs/4.1/index.html can be also used to create, list, update or delete AMQP connections. You're not limited to the GUI only.