
Salesforce API integrations and connected apps
Overview
This instalment in a series of articles about API integrations with Salesforce covers connected apps - how to create them and how to obtain their credentials needed to exchange REST messages with Salesforce.
In Salesforce's terminology, a connected app is, essentially, an API client. It has credentials, a set of permissions, and it works on behalf of a user in an automated manner.
In particular, the kind of a connected app that I am going to create below is one that can be used in backend, server-side integrations that operate without any direct input from end users or administrators, i.e. the app is created once, its permissions and credentials are set once, and then it is able to work uninterrupted in the background, on server side.
Server-side systems are quite unlike other kinds of apps, such as mobile ones, that assume there is a human operator involved - they have their own work characteristics, related yet different, and I am not going to cover them here.
Note that permission types and their scopes are a separate, broad subject and they will described in a separate how-to article.
Finally, I assume that you are either an administrator in a Salesforce organization or that you are preparing information for another person with similar grants in Salesforce.
Conceptually, there is nothing particularly unusual about Salesforce connected apps, it is just its own mini-world of jargon and, at the end of the day, it simply enables you to invoke APIs that Salesforce is built on. It is just that knowing where to click, what to choose and how to navigate the user interface can be a daunting challenge that this article hopes to make easier to overcome.
The steps
For an automated, server-side connected app to make use of Salesforce APIs, the requirements are:
- Having access to username/password credentials
- Creating a connected app
- Granting permissions to the app (not covered in this article)
- Obtaining a customer key and customer secret for the app
You will note that there are four credentials in total:
- Username
- Password
- Customer key
- Customer secret
Also, depending on what chapter of the Salesforce documentation you are reading, you will note that the customer key can be also known as "client_id" whereas another name for the customer secret is "client_secret". These two pairs mean the same.
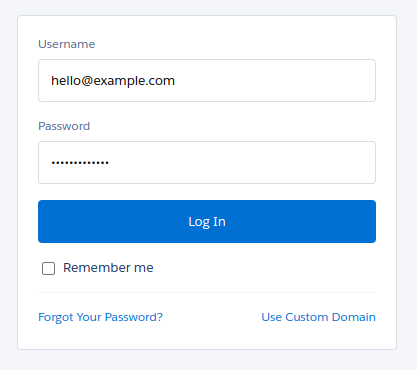
Access to username/password credentials
For starters, you need to have an account in Salesforce, a combination of username + password that you can log in with and on whose behalf the connected app will be created:
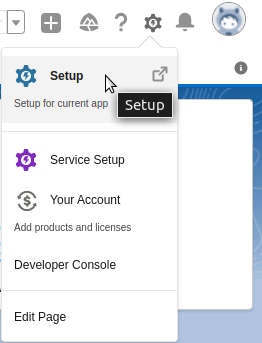
Creating a connected app
Once you are logged in, go to Setup in the top right-hand corner:
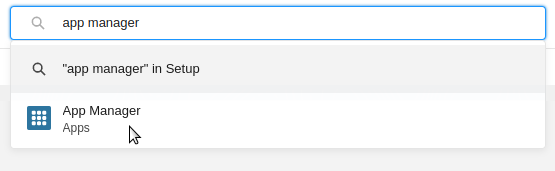
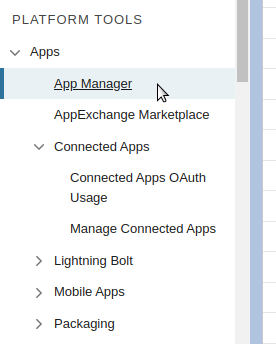
In the search box, look up "app manager":
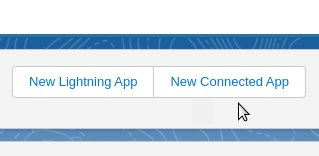
Next, click the "New Connected App" button to the right:
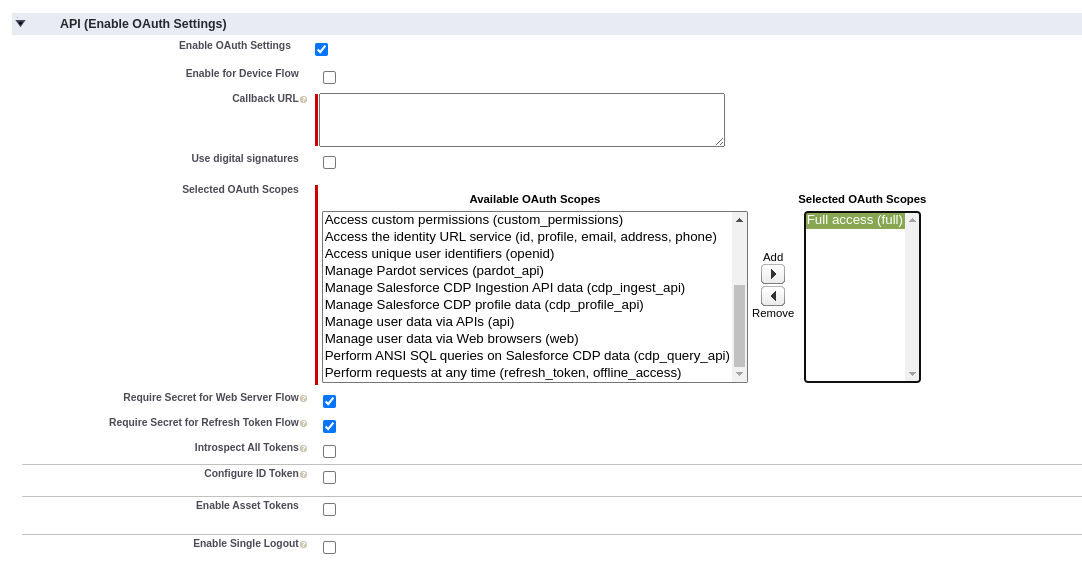
Fill out the basic details such as "Connect App Name" and make sure that you select "Enable OAuth Settings". Then, given that in this document we are not dealing with the subject of permissions at all, grant full access to the connected app and finally click "Save" at the bottom of the page.
Obtaining a customer key and customer secret
We have a connected app but we still do not know what its customer key and secret are. To reveal it, go to the "App Manager" once more, either via the search box or using the menu on the left hand side.
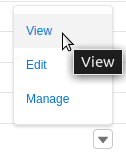
Find your app in the list and click "View" in the list of actions. Observe that it is "View", not "Edit" or "Manage", where you can check what the credentials are:
The customer key and secret van be now revealed in the "API (Enable OAuth Settings)" section:

This concludes the process - you have a connected app and all the credentials needed now.
Testing
Seeing as this document is part of a series of how-tos in the context of Zato, if you would like to integrate with Salesforce in Python, at this point you will be able to follow the steps in another where everything is detailed separately.
Just as a quick teaser, it would look akin to the below.
...

# Salesforce REST API endpoint to invoke
path = '/sobjects/Campaign/'

# Build the request to Salesforce based on what we received
request = {
  'Name': input.name,
  'Segment__c': input.segment,
}

# Create a reference to our connection definition ..
salesforce = self.cloud.salesforce['My Salesforce Connection']

# .. obtain a client to Salesforce ..
with salesforce.conn.client() as client: # type: SalesforceClient

    # .. create the campaign now.
    response = client.post(path, request)

...
On a much lower level, however, if you would just like to quickly test out whether you configured the connected app correctly, you can invoke from command line a Salesforce REST endpoint that will return an OAuth token, as below.
Note that, as I mentioned it previously, client_id is the same as customer key and client_secret is the same as customer secret.
curl https://example.my.salesforce.com/services/oauth2/token \
   -H "X-PrettyPrint: 1" \
  --header 'Content-Type: application/x-www-form-urlencoded' \
  --data-urlencode 'grant_type=password' \
  --data-urlencode 'username=hello@example.com' \
  --data-urlencode 'password=my.password' \
  --data-urlencode 'client_id=my.customer.key' \
  --data-urlencode 'client_secret=my.client.secret'
The result will be, for instance:
{
  "access_token" : "008e0000000PTzLPb!4Vzm91PeIWJo.IbPzoEZf2ygEM.6cavCt0YwAGSM",
  "instance_url" : "https://example.my.salesforce.com",
  "id" : "https://login.salesforce.com/id/008e0000000PTzLPb/0081fSUkuxPDrir000j1",
  "token_type" : "Bearer",
  "issued_at" : "1649064143961",
  "signature" : "dwb6rwNIzl76kZq8lQswsTyjW2uwvTnh="
}
Above, we have an OAuth bearer token on output - this can be used in subsequent, business REST calls to Salesforce but how to do it exactly in practice is left for another article.
More resources
➤ Python API integration tutorials
➤ What is an integration platform?
➤ Python Integration platform as a Service (iPaaS)
➤ What is an Enterprise Service Bus (ESB)? What is SOA?
➤ Open-source iPaaS in Python