Salesforce connections are one of the newest additions to Zato 3.2, allowing you to look up and manage Salesforce records and other business data. To showcase it, the article will create a sample Salesforce marketing campaign in a way that does not require the usage of anything else except for basic REST APIs combined with plain Python objects, such as dicts.
If you have not done it already, you can download Zato here.
The scope of our works will be:
To be able to create as connection to Salesforce in the next step, we need a few credentials. There is a full article about how to prepare them and this section is the gist of it.
In runtime, based on this information, Zato will obtain the necessary authentication and authorization tokens itself, which means that you will only focus on the business side of the integrations, not on the low-level aspects of it.
The process of obtaining the credentials needs to be coordinated with an administrator of your organization. To assist in that, the screenshots below explain where to find them.
The credentials are:
The username and password are simply the same credentials that can be used to log in to Salesforce:
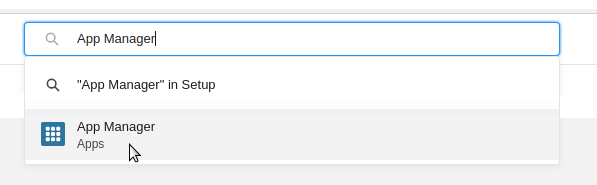
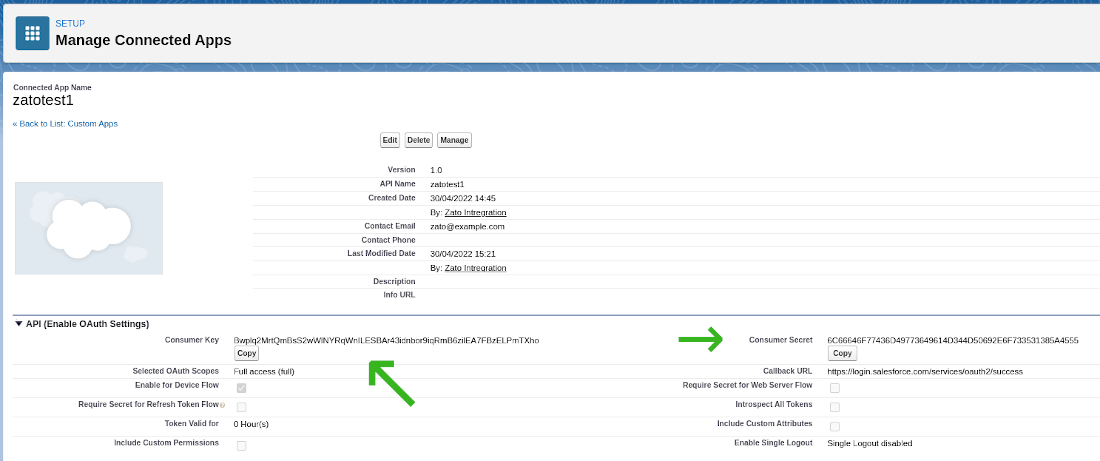
Consumer key and secret are properties of a connected app - this is a term that Salesforce uses for API clients that invoke its services. If you are already an experienced Salesforce REST API user, you may know the key and secret under their aliases of "client_id" and "client_secret" - these are the same objects.
Note that when a connected app already exists and you would like to retrieve the key and secret, they will be available under the "View" menu option for the app, not under "Edit" or "Manage".
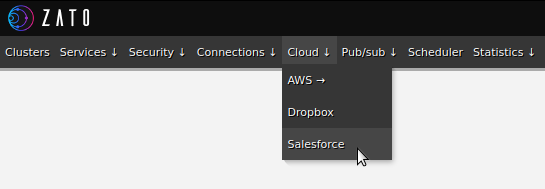
With all the credentials in place, we can create a new Salesforce connection in Zato Dashboard, as below.
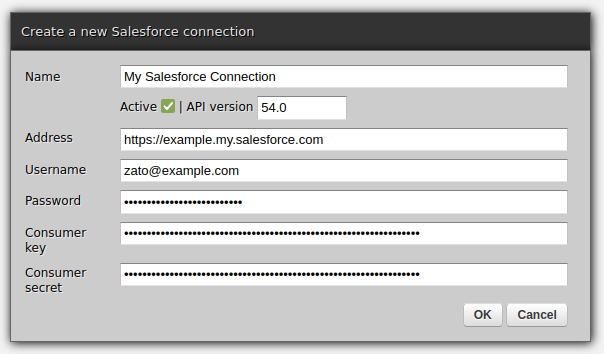
Above, we created a connection definition that lets Zato obtain session tokens and establish connections to Salesforce. Now, we can create an API service that will make use of such connections.
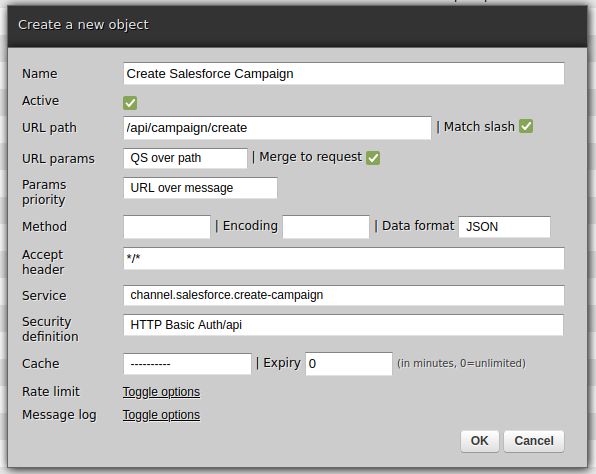
In the example below, we are using the POST REST method to invoke an endpoint that creates new Salesforce campaigns. In your own integrations, you can invoke any other Salesforce endpoint, using any REST method as needed, by following the same pattern, which is, create a model with input fields, build a Python dict for the request to Salesforce, invoke it and map all the required from the response from Salesforce to that which your own service returns to its own callers.
Note that we use a datamodel-based SimpleIO definition for the service. Among other things, although we are not going to do it here, this would let us offer definitions for this and other services.
# -*- coding: utf-8 -*-

# stdlib
from dataclasses import dataclass

# Zato
from zato.server.service import Model, Service

# ###########################################################################

if 0:
    from zato.server.connection.salesforce import SalesforceClient

# ###########################################################################

@dataclass(init=False)
class CreateCampaignRequest(Model):
    name:    str
    segment: str

# ###########################################################################

@dataclass(init=False)
class CreateCampaignResponse(Model):
    campaign_id: str

# ###########################################################################

class CreateCampaign(Service):

    class SimpleIO:
        input  = CreateCampaignRequest
        output = CreateCampaignResponse

    def handle(self):

        # This is our input data
        input = self.request.input # type: CreateCampaignRequest

        # Salesforce REST API endpoint to invoke - note that Zato
        # will add a prefix to it containing the API version.
        path = '/sobjects/Campaign/'

        # Build the request to Salesforce based on what we received
        request = {
          'Name': input.name,
          'Segment__c': input.segment,
        }

        # .. create a reference to our connection definition ..
        salesforce = self.cloud.salesforce['My Salesforce Connection']

        # .. obtain a client to Salesforce ..
        with salesforce.conn.client() as client: # type: SalesforceClient

            # .. create the campaign now ..
            sf_response = client.post(path, request)

        # .. build our response object ..
        response = CreateCampaignResponse()
        response.campaign_id = sf_response['id']

        # .. and return its ID to our caller.
        self.response.payload = response

# ###########################################################################
Note that we assign HTTP Basic Auth credentials to the channel. In this manner, it is possible for clients of this REST channel to authenticate using a method that they are already familiar which simplifies everyone's work - it is Zato that deals with how to authenticate against Salesforce whereas your API clients use the ubiquitous HTTP Basic Auth method.
The last step is to invoke the newly created channel:
$ curl http://api:password@localhost:17010/api/campaign/create -d '{"name":"Hello", "segment":"123"}'
{"campaign_id":"8901Z3VHXDTebEJWs"}
$
That is everything - you have just integrated with Salesforce and exposed a REST channel for external applications to integrate with!
➤ Python API integration tutorials
➤ What is an integration platform?
➤ Python Integration platform as a Service (iPaaS)
➤ What is an Enterprise Service Bus (ESB)? What is SOA?
➤ Open-source iPaaS in Python
