If you are on Windows, looking for an integration platform to connect your APIs, systems, applications, backend resources or mobile apps, I am happy to let you know that Zato now supports Windows natively in addition to Linux.
You can use the platform to connect your systems, to offer new APIs on top of existing server-side resources, to secure your applications, to connect IoT devices, to move and distribute static files or to grant backend access to online users - these are just a few examples of how Zato is typically used. Read on for more details on how to install it under Windows.

The native Windows port is new in Zato 4.1 - download an .msi package for your Python version and install it by following the steps here.
The end result will be a 'zato' command line tool, as below:

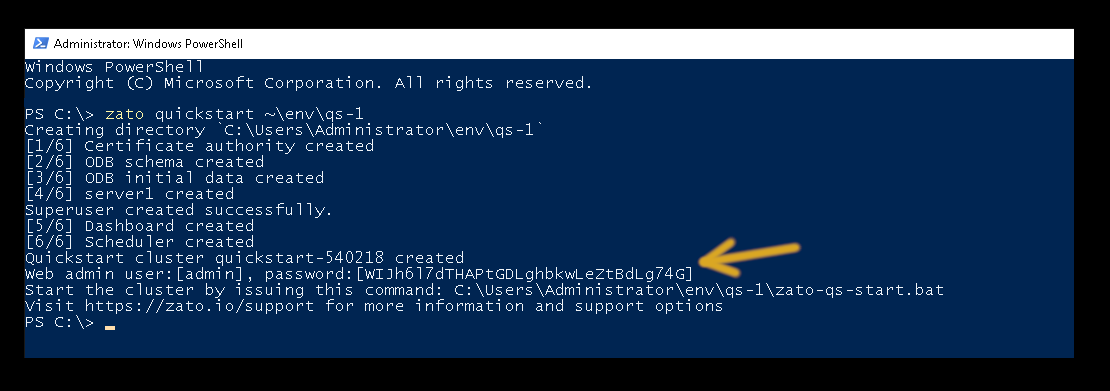
Run the command below to create your first cluster. It is called "qs-1" because this is the first quickstart cluster in this system:

Note the indicated user name (admin) and the password - after the cluster is started, you will be able to use the credentials to log in to your Dashboard in a moment.
Let's start the cluster in this case - it will open a new PowerShell or cmd.exe window with all the logs in foreground.
Now, you can log in to Dashboard at http://localhost:8183 to look around and familiarize yourself with the GUI.
That is practically everything, the cluster is up and running, there is a server, Dashboard and a background scheduler. You are ready to begin the tutorial now.